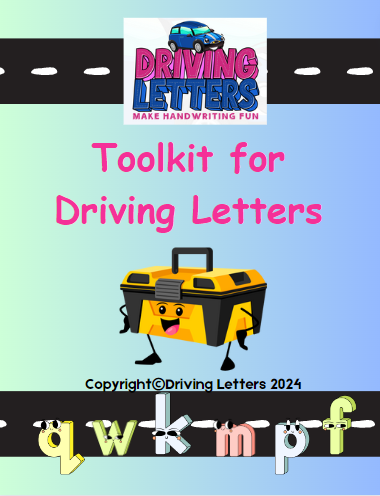
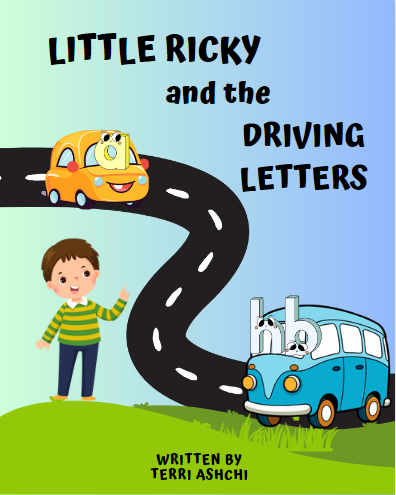
Terri Ashchi created Driving Letters as a fun way for children to learn to print lowercase letters properly on lines with a dotted line through the center. Driving Letters has two components: the picture book Little Ricky and the Driving Letters and the Toolkit for Driving Letters.
Letters that drive particular cars is a theme used throughout the course. The lowercase letters are divided into three “driving clubs”: the Safe Drivers Club, the Road Hog Club, and the Silly Drivers Club. Letters that stay between the two lower lines belong to the Safe Drivers Club—letters like c, m, o, and s. Members of the Road Hog Club take up both lanes between the top and bottom lines. These are b, d, f, h, k, l, and t. Upper case letters are explained as visitors to the Road Hog Club, and just a few of them are shown in Little Ricky and the Driving Letters. (Uppercase letter formation needs to be taught after this course.) The Silly Drivers Club consists of g, j, p, q, and y—those letters that begin in a lane but go off the road below the bottom line.
To help children associate the letters and their clubs, the cars and letters for the three clubs are color-coded yellow, blue, and red, respectively in both the storybook and the Toolkit. The starting place is the 20-page picture book, Little Ricky and the Driving Letters, which teaches about the driving clubs within an illustrated story. The picture book is available as a PDF from the publisher, through Kindle Unlimited (free to members), and in print.
 After reading and discussing the story, you use resources from the Toolkit for Driving Letters. This PDF has practice worksheets, games, and bulletin board displays. Full-page sheets for each letter use Start, Stop, and Pause signals in green, red, and yellow to show how to form each letter. Children can drive small cars (you provide these) on these pages to learn their proper formation. Even though these pages start on page 60, children should practice with cars following the arrows, dotted lines, and signals before writing on their own.
Some pages with color-coded groups of the cars and letters are combined to create larger posters for a bulletin board.
On color-coded worksheets for each of the three driving clubs, children practice writing the letters. These worksheets include models showing proper letter formation with arrows and dotted lines. Students trace one letter and then write on their own.
The Toolkit has simple instructions and posters for playing “Three Corners for Driving Letter Clubs,” a game where students walk to the correct poster for each letter they are shown. Another game has students sort letter cards (cut from Toolkit pages) into the three driving clubs. Yet another game has students play “Red Light Green Light” on lines marked with tape or chalk on the ground. They will drive like the letter in the driving club that the teacher calls out—e.g., Safe Driving Club members drive by keeping one foot on the bottom line and the other on the middle line.
A poem for each club is chanted to the rhythm of “Where is Thumbkin?”. Cutouts for Little Ricky and red, yellow, and blue cars can be mounted on popsicle sticks and used as children recite the poems.
The Toolkit also has a progress chart, sheets with printable stickers to affix to the chart, a detailed record-keeping chart for tracking student mastery of each letter, a rubric showing three different stages of mastery, printable lined paper in three different formats, and printable driver licenses that can be awarded to students when they complete the course.
Summary
While Driving Letters was designed for group classes, it should work just as well for one child. It’s a playful way to teach proper letter formation and writing properly on the lines that should work well for children resistant to “staying within the lines.”


